A system for automating furniture assembly videos
This article provides an overview of some of the tools I developed to automate the creation of assembly videos through a scripting system that connects Rhino and Blender.The process includes organizing parts, interpreting layers and geometry, and standardizing repetitive decisions into consistent animations.
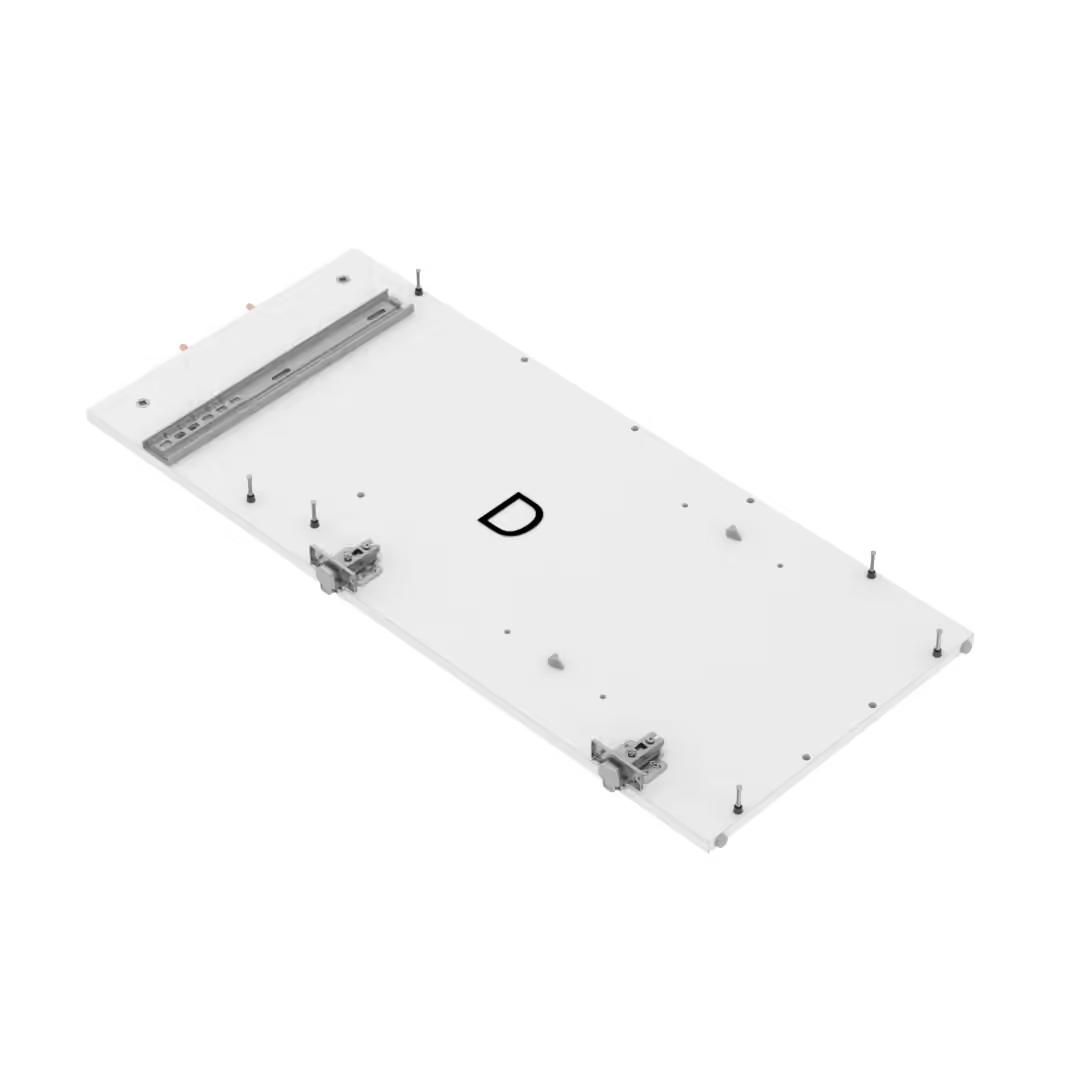
Example animation — Part assembly.
To understand what this system does, we first need to explain how an assembly animation is built. Before animation begins, every part needs a specific structure: its components must be organized and their relationships defined.
Preparing that structure once is part of the job. The problem appears when I need to repeat the same decisions twenty or more times. That is where the opportunity emerges to turn them into rules the system can apply.
PremiseIf the process is repetitive,
it can be automated.
A script for every problem
The workflow is divided into two parts. Rhino prepares and organizes the model. Blender interprets that organization to build the animation automatically.
To connect both parts, each script solves a specific task: cleaning the file, recognizing geometry, inserting hardware, or sorting layers. Chained together, they form a continuous and consistent process.
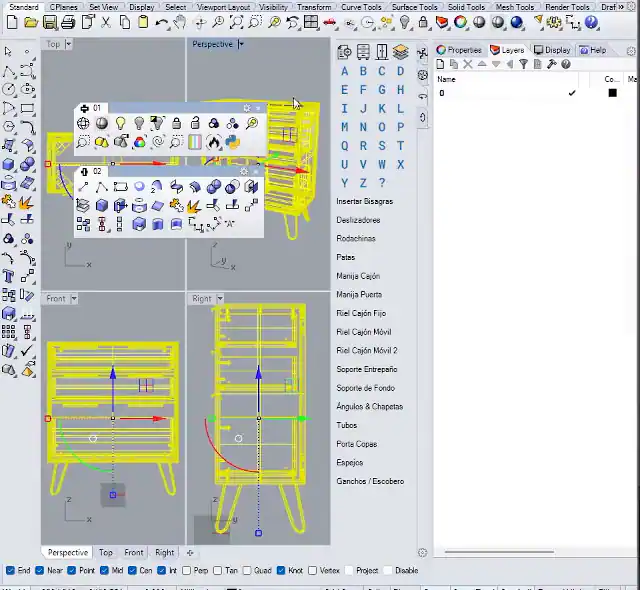
Clean and prepare
The system normalizes units, origin, layers, materials, and blocks so every rule begins from a consistent structure.
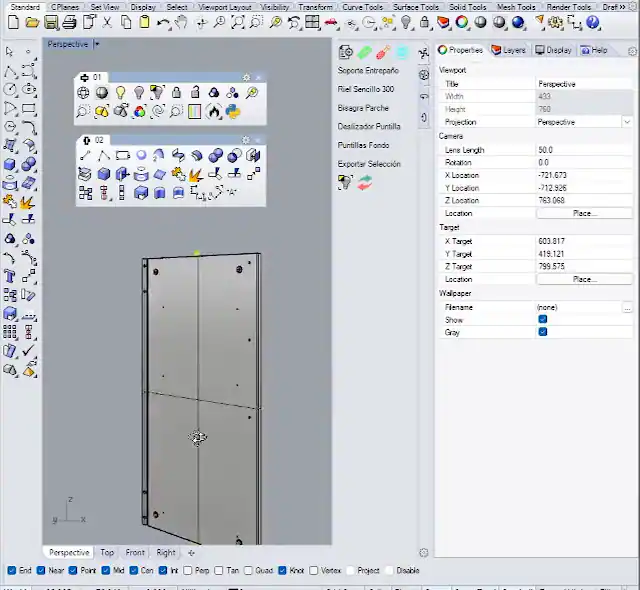
Insert hardware
The system analyzes the geometry to recognize holes, determine their orientation, and place the corresponding hardware while respecting the assembly direction.
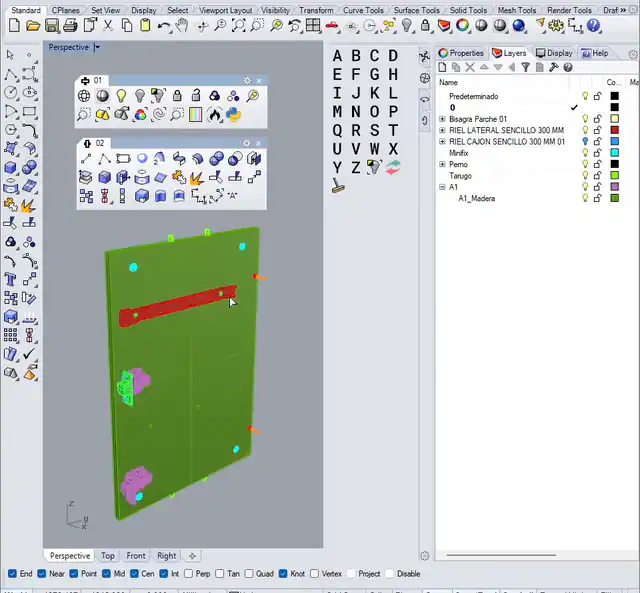
Classify into layers
Successive classification rules separate wood and each hardware family until the geometry is organized into a readable structure.
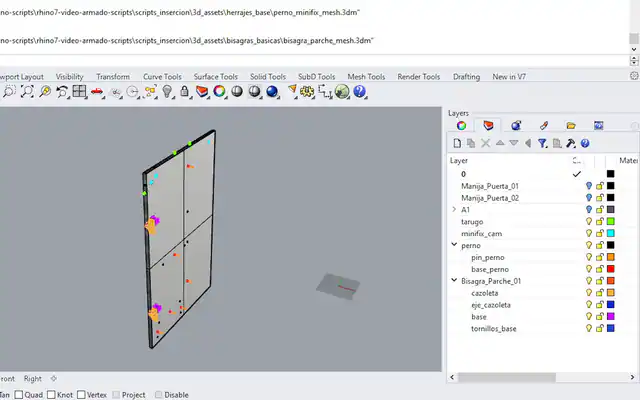
Organizing the file in Rhino
Rhino prepares the information required by the entire workflow. It cleans the file, recognizes wood and hardware, and applies a sequence of rules that classifies each family until the model is fully organized.


Object hierarchy
Every object receives an identity and a relationship to the others. The hierarchy indicates which part it belongs to, while its name expresses its function. With that structure, Blender can interpret the model as information.
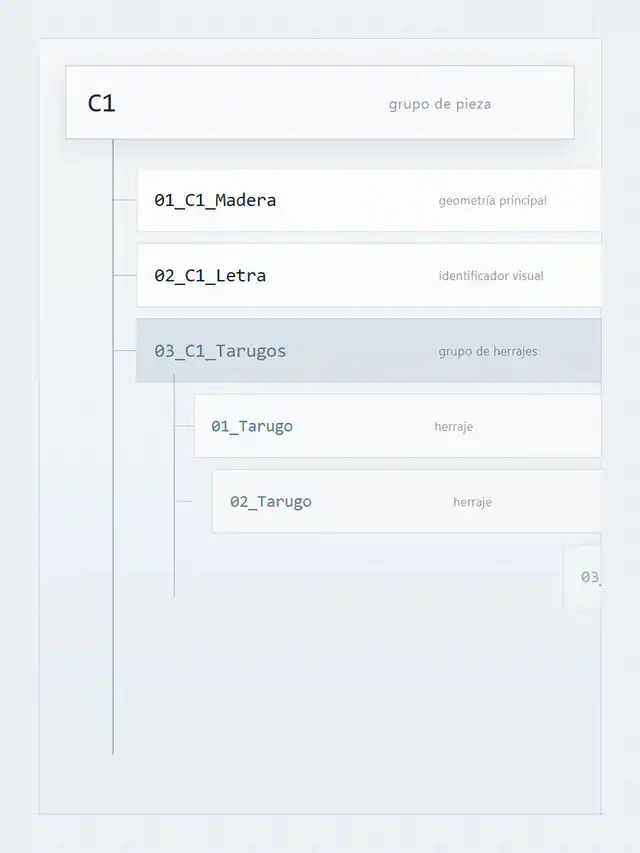
Representation of the layer structure and hierarchy.
Complete system map
These six stages connect the CAD model with the animation. Each prepares information needed by the next, from the initial reading of the assembly instructions to the construction of movement.
- 01
Prepare a consistent structure
The first step prepares a copy of the model: it normalizes units, breaks down blocks, centers the geometry, and reorganizes layers so later rules can work from a consistent structure.
- 02
Place each hardware component
The system analyzes the geometry to recognize holes, determine their orientation, and place the corresponding hardware while respecting the assembly direction.
- 03
Classify each family progressively
Classification uses rules that identify wood, dowels, bolts, minifix connectors, hinges, slides, and other hardware. Each stage adds context and groups what belongs to each part until the structure is fully organized.
- 04
Close and validate the structure
At the end, the system collapses sublayers, sorts families, and verifies that every object has a clear identity. The model is then ready to export.
- 05
Transfer the structure to Blender
The file imported into Blender retains its geometry, names, and object relationships. Blender receives a structure it can interpret and use without rebuilding the furniture from scratch.
- 06
Turn data into motion
Blender interprets the organization to decide what appears, in what order, from which direction, when the assembly rotates, and how each step is built. The result is a sequence ready for review.
Blender interprets the information
Thanks to the previous organization, Blender can recognize which objects form each part, what function they serve, and how they relate to one another.
With that information, it decides what appears, in what order, from which direction, when the assembly rotates, and how each step in the sequence is built.
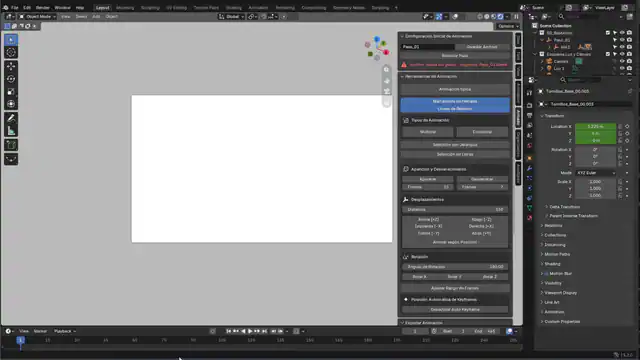
One button for the entire process
Typical Animation validated the assembly root, traversed its hierarchy, and recognized each family. By comparing hardware with the wood panels, it decided the order, direction, and starting side before writing keyframes.
For more specialized cases, the other buttons customized appearances, displacements, rotations, and frame ranges. Each control defined how a component should enter, move, and orient itself.
- 01
Import the complete furniture model
The process begins with the complete furniture model imported into Blender. From there, the add-on can animate every part without requiring the model to be separated beforehand.
- 02
Identify each type of part
The system reads model names and groups to separate panels, letters, dowels, minifix connectors, hinges, slides, handles, and screws. This groups each type into its own stage and avoids mixing parts with different functions.
- 03
Find how each part enters
For each hardware component, the system compares its location with the boundaries of the nearest panel. It recognizes whether the part sits on a face or edge and uses that information to choose a coherent entry direction toward its final position.
- 04
Decide which side to show first
When hardware is found on opposite faces, the system identifies both sides and checks the camera. It animates the visible parts first, rotates the assembly 180°, and then continues with the reverse side.
- 05
Build the animation step by step
With the parts grouped and the order defined, the system builds each stage: objects appear, move into position, and hold for a pause. The result is a complete sequence ready to adjust or export.
System impact
The first version could produce one video per week. After adding more rules and reducing manual intervention, the current system can generate one per day.
The result is more than a reduction in production time. The system no longer depends on arbitrary manual decisions. Its rules are embedded in the system and can be reused repeatedly across entirely different models.
Five times more weekly capacity
From one video per week to five, with a current capacity of one per day.
per week
per week · 1 per day
Reduced time spent organizing 3D models.
Historical test using a 25-part furniture model.
- Standard process
- 200 min
- Automated
- 37.5 min
Assembly instruction video
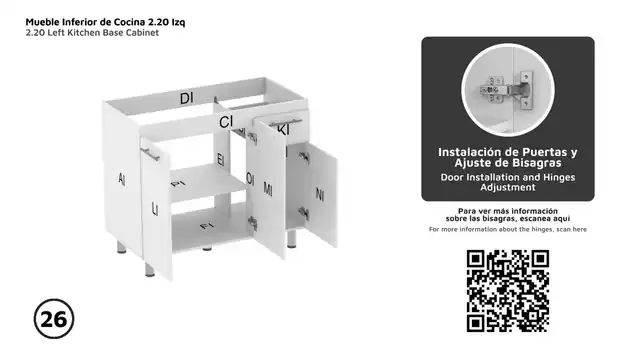
The process continues.
Although many parts of the process are already automated, some stages can still be optimized to reduce time even further. This case only scratches the surface of what the system could achieve in the future.This is only one part of the complete system
This article is still in development. I am continuing to gather decisions, tests, and lessons to explain the system’s full scope. The post-production automation, which already exists as part of this workflow, also remains to be documented.